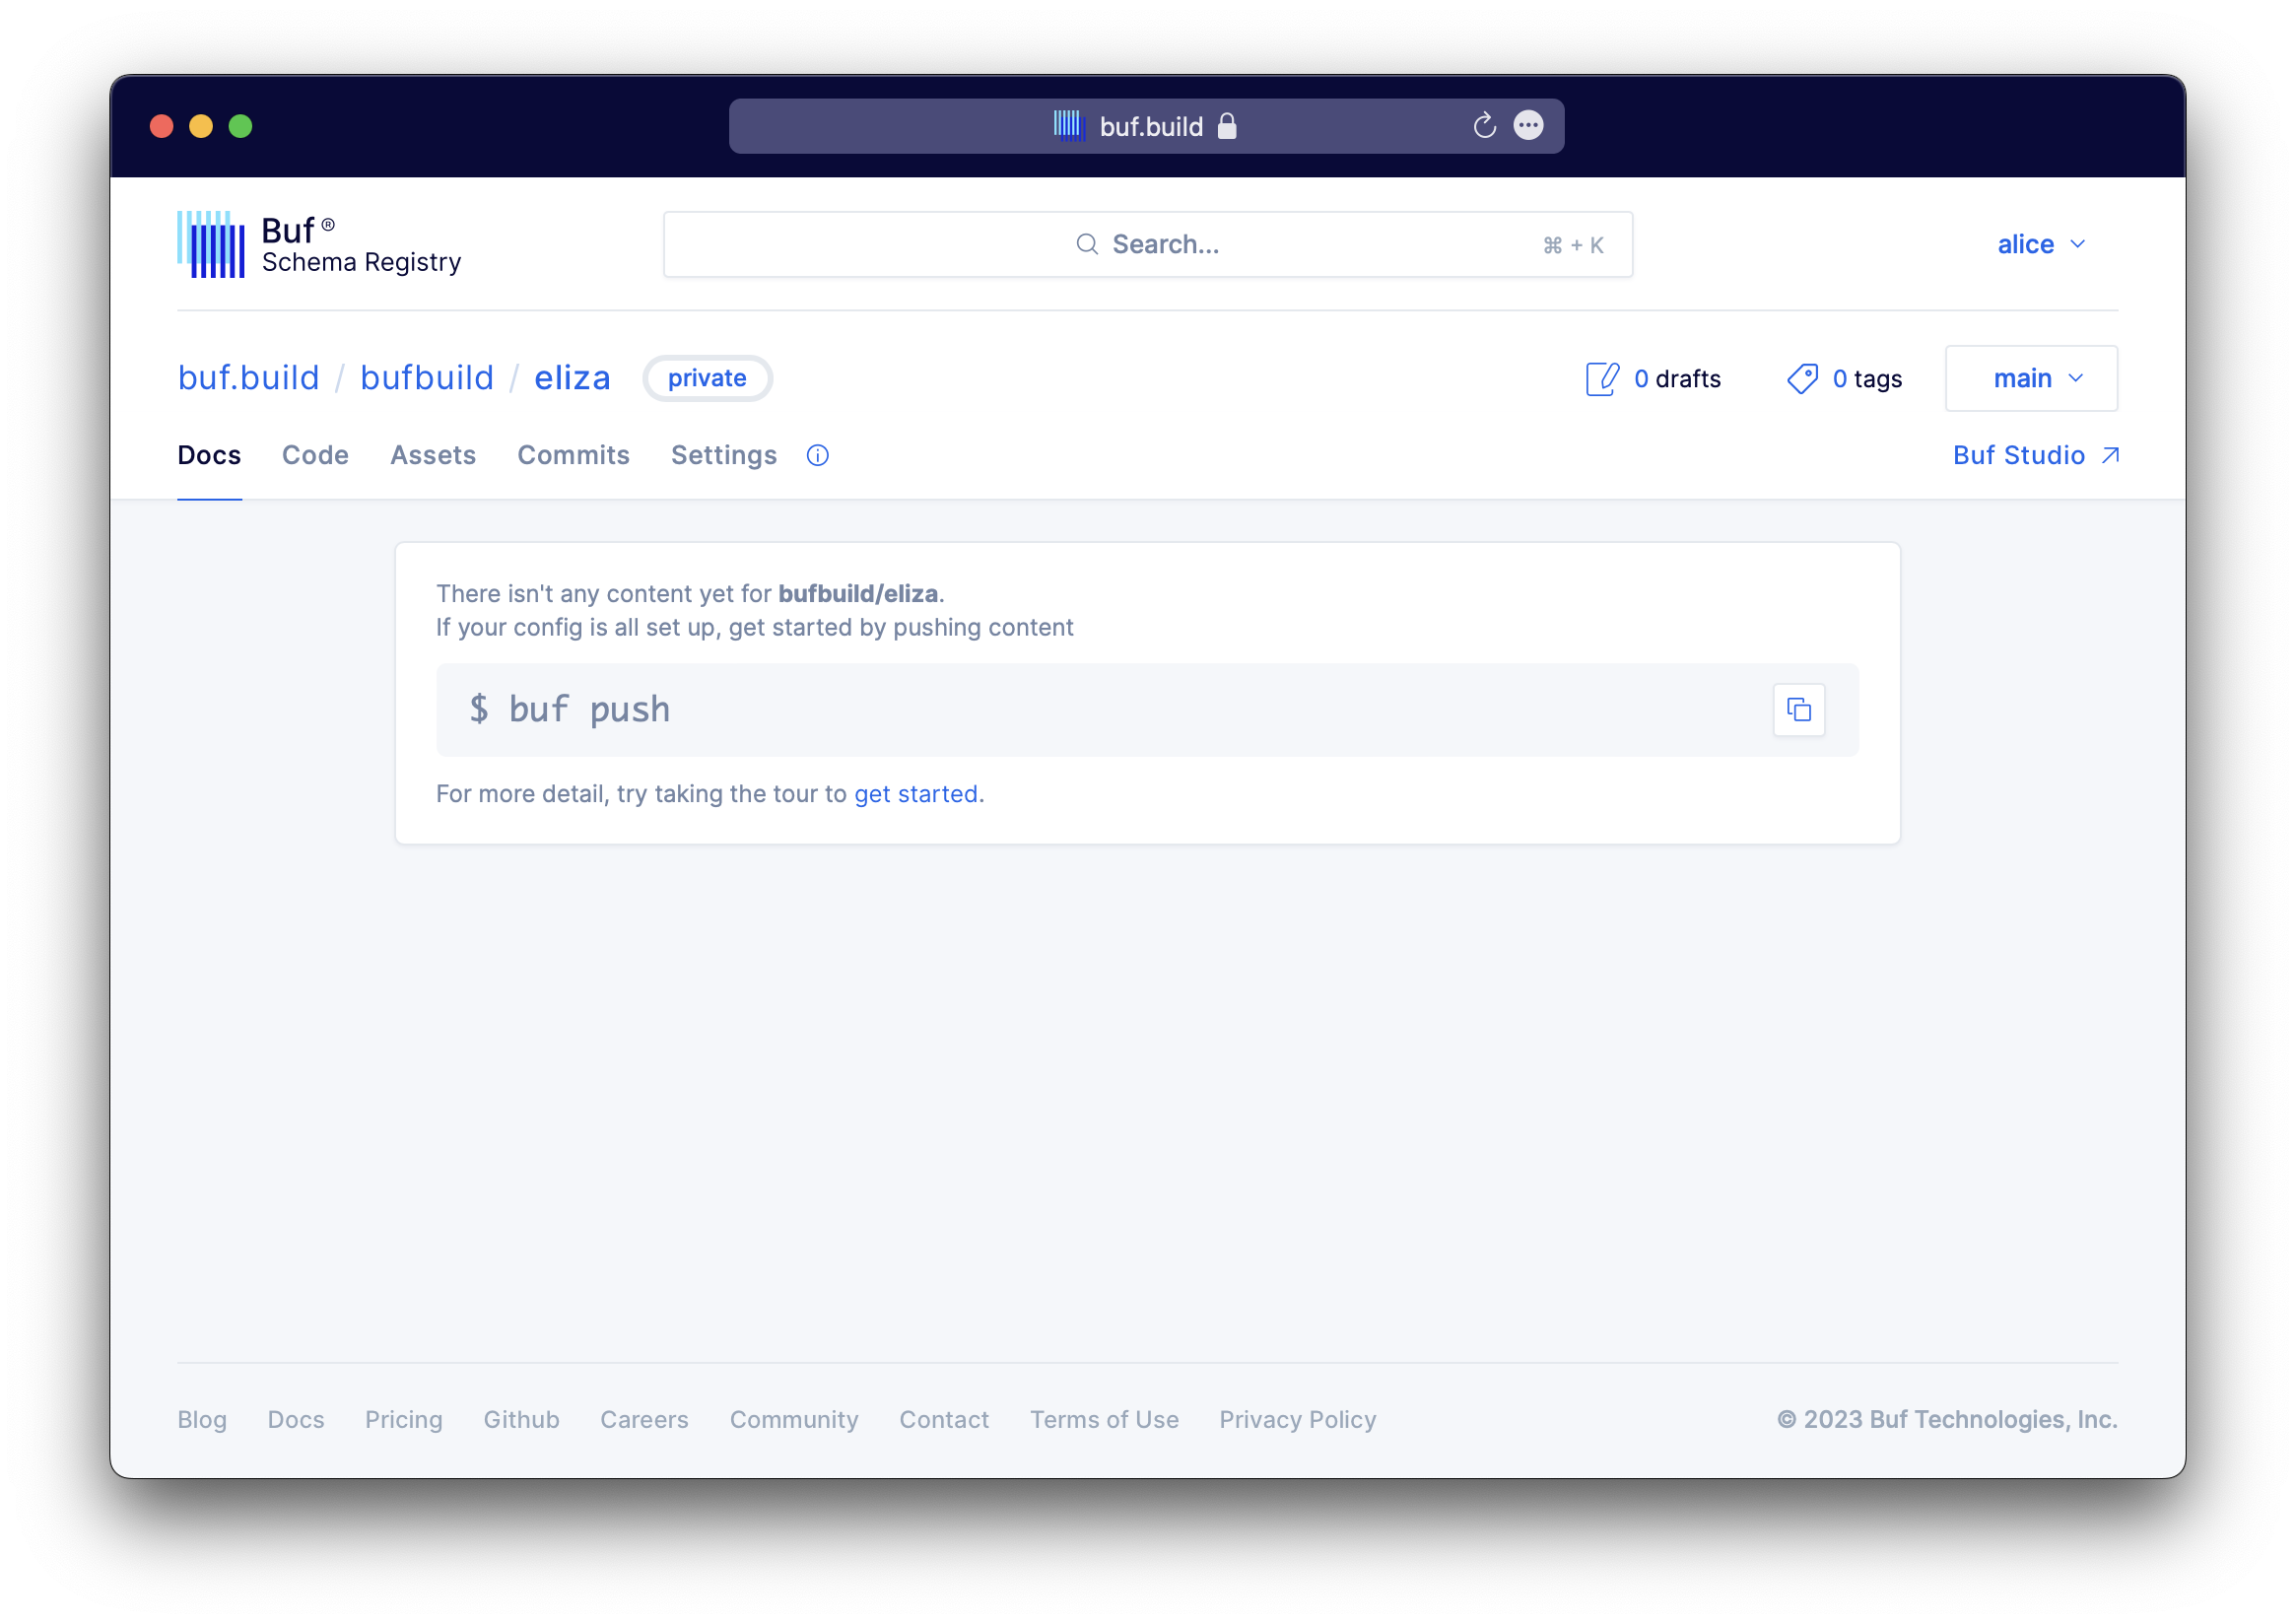
The following section contains step-by-step instructions on how to easily get started with Buf Schema Registry.
Step 1: Sign up for a Buf account
Let's start by creating a Buf Account.
A Buf Account grants you access to Buf Schema Registry repositories and allows you to explore modules that are available from the community and verified publishers. You'll also need a Buf Account to share modules on the Buf Schema Registry.
Step 2: Create your first repository
To create a repository:
-
Sign in to Buf Schema Registry.
-
Click Create a Repository on the Buf Schema Registry welcome page.
-
Name it <USERNAME>/my-private-repo.
-
Set the visibility to Private.
-
Click Create.
You've created your first repository. You should see:

Step 3: Download and install Buf CLI
You'll need to download Buf CLI to build, push, and pull container modules.
-
Download and install Buf CLI.
-
To execute
bufcommands below make sure you are authenticated. Obtain a token from the BSR and sign in to the Buf CLI application using the Buf Account you've just created.:$ buf registry loginFollow the prompts to enter your username and password (API Token). This adds an entry into your
$HOME/.netrc(Linux or macOS) or%HOME%/_netrc(Windows).
Step 4: Build a module
-
Start by creating a
.protofile to specify your application as shown below:syntax = "proto3"; package helloworld; // The greeting service definition. service Greeter { // Sends a greeting rpc SayHello (HelloRequest) returns (HelloReply) {} } // The request message containing the user's name. message HelloRequest { string name = 1; } // The response message containing the greetings message HelloReply { string message = 1; } -
Run
buf mod init buf.build/<your_username>/my-private-repoto configure your buf module. -
Run
buf buildto build and test your Buf module locally.
Step 5: Push the module to Buf Schema Registry from your computer
-
Run
buf pushto push your Buf module to Buf Schema Registry. You should see output similar to:$ buf pushOutput19bcefa1a736428d9e64d21c9191b213You must be signed in to Buf Schema Registry through Buf CLI, and you must also name your modules correctly, as per the above steps.
-
Your repository in Buf Schema Registry should now display a new
latesttag under Tags.
Congratulations! You've successfully:
- Signed up for a Buf account
- Created your first repository
- Built your own buf module on your computer
- Pushed it successfully to Buf Schema Registry
Next steps
- Create an organization to use Buf Schema Registry with your team.
- Automatically push modules to the BSR using GitHub Actions.
- Explore official plugins for code generation.
- Upgrade your subscription to push additional private Buf modules to Buf Schema Registry.